Thursday

Thursdays with Tombow: Back Then

I’ve been very into artsy layouts lately. I just love the mess of mists and twine.

 I used the Mono Adhesive Permanent for gluing the photo, mat, layers, view master die cut, glassine bag and clear Maya Road Accent. For the clear grid I only used the Mono Adhesive Permanent in the part behind the photo but, I used my sewing machine on the left to keep it in place.

 I used American Crafts Thickers for the title. to keep the little flags on the layout I used the Tombow Power Tabs.

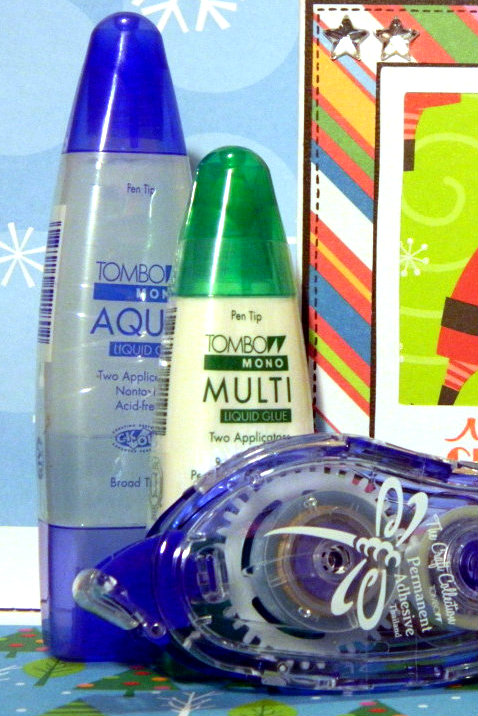
 For the twine and dew drops I used the Mono Aqua Liquid Glue which is my favorite glue when it comes to make swirls with twine since it dries clear and you won’t see any possible mess.

I also used the Mono Aqua Liquid Glue for the Sequins. On the side I used the Sew Easy to make the stars.

 I hope you enjoy this mess, after all you didn’t clean it up ;)
SantasPhoto1_zpsa280e9d3
I hope you enjoyed my post!!
Take Care!!
 
If you enjoyed this post please follow us on

**Don’t forget the Tombow Contests!!

Cinco de Mayo PiƱata Contest!!

Pin It For Mommy!! 

Peachy Keen Stamps Spring Fling Blog Hop


Hi!! Welcome to the 
Peachy Keen Stamps Spring Fling Blog Hop!! 
You probably came from Cindy's Blog!
But if you happened to stumble across my blog go to the Peachy Keen Stamps Blog to start!!

For my project I made a very spring-y card!! 
I used the Live Simply Cricut Cartridge for the frame and on the inside I used the Cloudy Day Background Stamp.

 This bee is from the Create A Critter but I used a face from the Erkle and Merkle Face Assortment.
The sentiment is from the Cupid Sting Set.

This flower is from the Simply Charmed Cartridge and the face is also from the Erkle and Merkle Assortment

I hope you enjoyed my post!!
The next stop is the super talented Gigi!! 
**Remember to leave a comment in ALL the blogs for the chance to win an amazing peachy prize!!

Here is the whole line up in case you get lost!!
Peachy Keen Stamps Blog - http://www.peachykeenstamps.blogspot.com/
Jennie Garcia - http://earthyscrap.blogspot.com/ <<YOU ARE HERE

Monday

Blog Hop with Tombow and Elizabeth Crafts Designs

Today at Tombow we have an amazing hop with Elizabeth Crafts Designs!!
You probably came from Melissa's Blog.
But if you just happened to stumble across my blog to to the Tombow USA Blog to start.

I was very lucky to use the Flower Set 2 Die!! 
I made a layout about my daughter's favorite doll. 

Most of the papers are from the Hey Diddle Diddle Imagine Cartridge and I used an EK Success Butterfly punch for the little butterflies on the layout. The alphas are Thickers from American Crafts and I stitched the starburst pattern. 

I curled the petals and glued them to the layout stacking 2 Tombow Foam Tabs

 To put them together I used the Mono Aqua Liquid Glue and on the top I used a flower button with a pearl on top. 

The alpha stickers are from Recollections. 

Remember to leave a comment for the chance to win these prizes.

Your next stop is MARIE!!

I hope you enjoyed my post!!
Take Care!!
If you enjoyed this post please follow us on

**Don't forget the Pin it For Mommy Tombow Contest!!

Sunday

Artsy Yoga Girl Layout


Today I have an artsy type of layout to share. I used a few colors of mist to splatter around the layout and lots of machine stitching. I also doodled on the photos.
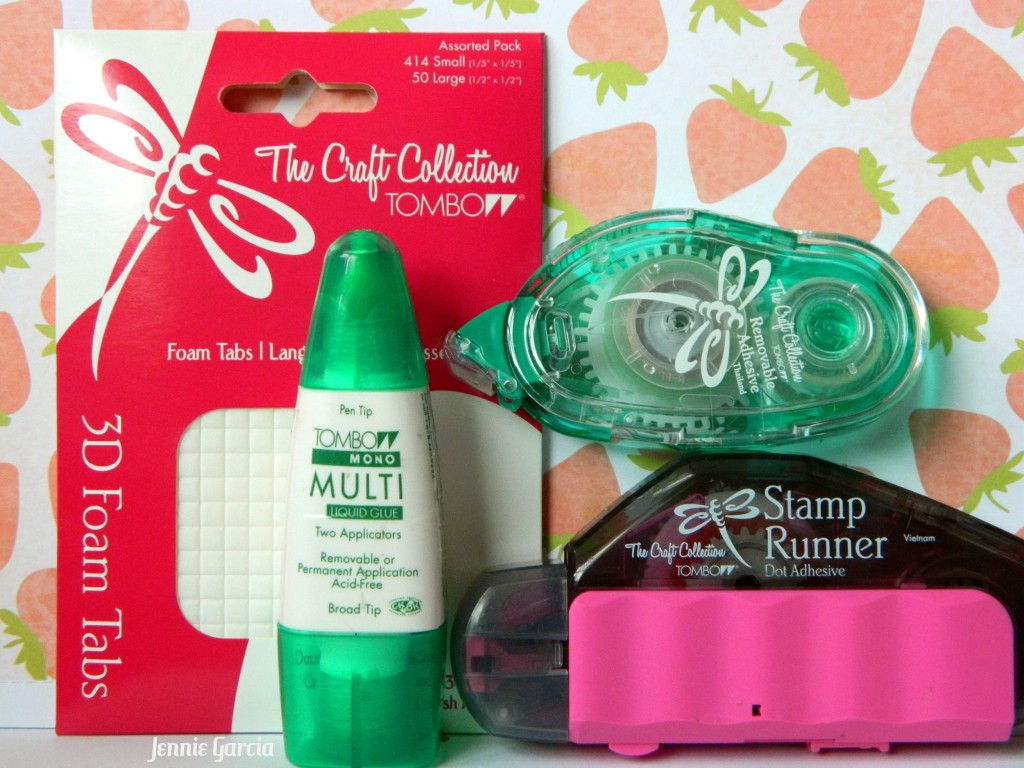
 I used the Stamp Runner Dot Adhesive to glue all the papers and vellum on the layout.
 I colored the flowers with the Seascape Irojiten Color Dictionary Pencils and then I used a watercolor technique to put some details with Dual Brush Pens. I just colored acrylic blocks with the Dual Brush Pens and used the watercolor brush to put brighter lines on the flowers.
 This is how the paper looks without the mist and the flowers without coloring.
I cut these flowers from one of the papers and put them on the layout using Foam Tabs.
 For the title I used Thickers and I added sequins and dew drops to the stitched lines. For gluing these I always use the Mono Aqua Liquid Glue since it dries completely clear it looks flawless.
 Here are some of the things I used.
I hope you enjoyed my post!!
Take Care!!


Tuesday

Scrapbook Plus: Technique Tuesday- Sewing on Layouts 101

I'm not an expert but I would like to share what I know about sewing in layouts. Last week I was at the store and I was talking to some awesome ladies about the stitching in the layouts of this month's kit and one of the layouts of the March Kit of the Month. We were talking about tricks and tools and I decided to make this Technique Tuesday all about stitching and sewing.

I'm going to start with Stitching on Layouts with the Sewing Machine.
 *Always use a piece of scrap paper to test the machine. I do it every time because machines can be tricky.
*Keep the speed slow to avoid messing up and to control the paper specially in layouts.
* When sewing a thick layer (thick cardstock, chipboard, many layers of papers or ribbon on paper) always use the hand wheel on the side. If you are not sure of how thick is your layer, just use the hand wheel to avoid having your needle break.
*Don't make the stitches incredibly short because it can make your project tear.
*When you cut the thread leave a 1/2 inch form the paper. Then all you have to do is pull the thread on the back and the one in the front will come out of the back leaving a clean look.
*I always secure my stitches on the back with tape.
*When you want to go all around a page (like the one below) and you reach a corner move the needle almost as if you were going to do another stitch and then turn to really make a 90 degree angle.


 I made this layout with the April Kit of The Month using the Trend Setter Line from Fancy Pants.

 I love that stitching sometimes gives the illusion that is holding elements but of course is not. Don't forget to pick up the Ephemera pack where you will find cool die cuts like this hand, the key and the flower on the top.

 The kit also has cool buttons like the flower button and the pink button. See the effect of sewing in the triangles? It gives them some sense of unity.

 Lately I am addicted to enamel dots and you can find them in the My Mind's Eye Section of Scrapbook Plus in a variety of cool colors.

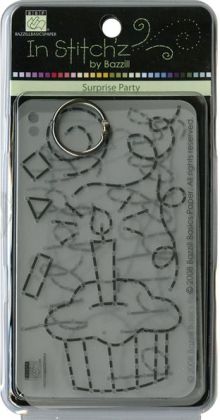
 Now let's talk about hand stitching. It looks great and is easy but it can be very time consuming. But there are a lot of tools out there to help you out. For my Beach Babe layout from last month's kit I used the Sew Easy. I love my tools and the Sew Easy is one of my favorites ever!! You can buy this little handle and  it will make the pattern to make a straight line but you can also buy the heads separate for other really cool styles. Do not forget the pad!! If you forget the pad underneath the paper the piercer won't work because it needs some cushion. I use tape to hold the end of the thread here too.


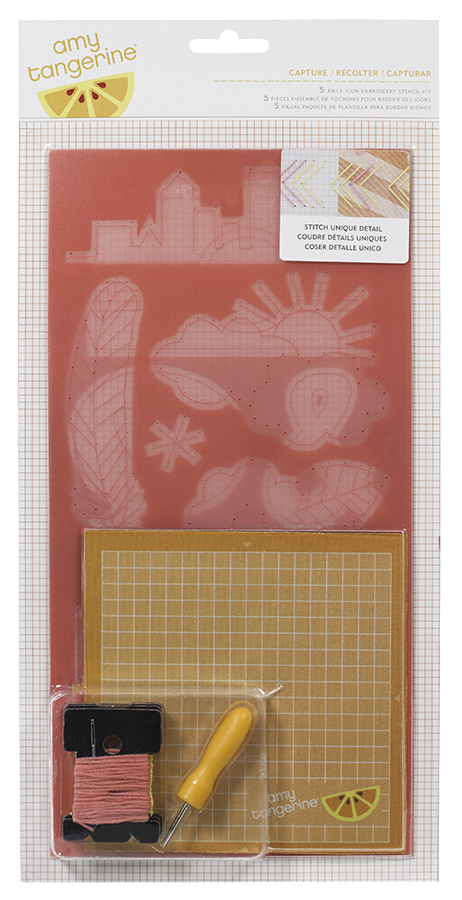
 Up next we have templates!! For my next layout I used the ones from Amy Tangerine.


 The Amy Tan Templates comes with a small protective mat, a piercer, 3 needles and 3 threads (pink, turquoise and yellow). Always have a few needles available, you can get a pack of them at Scrapbook Plus in the sewing section.

  On this layout I used the templates on a few layers so instead of using the piercer I used push pins to go through 4-6 layers of paper. I just needed something sharper to get to the back.

 I used one of the Fancy Pants Frames to write the journaling inside.

 For the stitching in the layout I used the thread that comes with the Amy Tangerine Embroidery Stencil Kit.


 I hope you enjoyed this post!!
If you have any questions just leave me a message in the comment section!!
Take Care!!
Jennie

Thursday

Thursdays with Tombow: Pretty Simple Card


Today I am sharing a simple card and normally these cards are very hard for me but I think the paper helped me out a lot. I used paper from the DCWV Chickadee Stack and the Flower 2 Die from Elizabeth Craft Designs. To glue the whole card I used the Stamp Runner Dot Adhesive and to glue the flower I used the Tombow Foam Tabs and I curled the petals to give it even more dimension. This is a A2 Size card which could work great for Operation Write Home and talking about OWH this Saturday we are hoping with them so do not miss the fun, tutorials and prizes!!
I believe that the secret with a good simple card is the details and that is why I used the machine stitching. For the blue 1/2 inch stripe I used a pleating technique using my scoreboard and scoring at 1/2″,  1 1/2″,  2″,  3″,  3 1/2″,  4 1/2″,  5″,  6″,  6 1/2″,  7 1/2″,  8″,  9″,  9 1/2″,  10 1/2″ and 11″. When I stitch on top of the pleating I move the wheel on the side manually to avoid breaking the needle or having problems with my stitching.
We hope to see you here on Saturday for the OWH hop!!
She Is Crafty4
I hope you enjoyed my post!!
Take Care!!
If you enjoyed this post please follow us on